Art Studios Styling Guide for a Warm, Inviting Home
Home art studio ideas for small spaces and tight budgets: where to put it, what to include, which furniture to pick, and how to organize supplies.

By Julio Arco
Architect and online interior designer
In this post
You don't need a spare room to have a home art studio. You need a surface to work on, good light, and a place to put your supplies away so the space can go back to being your living room or bedroom. A corner, a closet, or half a room will do.
Below are the setups that work best, how to plan the layout, what to include, and how to keep it organized.
What should be included in an art studio?
Whatever the size, a working studio needs the same short list:
- A work surface at the right height for how you work (a table for drawing and watercolor, an easel for painting).
- Light you control, both daylight and a lamp for evenings.
- Storage within arm's reach for what you use daily, and closed storage for the rest.
- A floor you don't mind splashing, or a drop cloth or washable mat.
- A place to dry or display work in progress.
- Seating that suits the medium: a stool for standing at an easel, a supportive chair for detail work.
Ventilation matters too if you use solvents, sprays or strong-smelling media. Read the product labels and open a window.
How to create an art studio at home
Start with what you make, not with the room. A watercolorist needs a small flat table. An oil painter needs wall space, ventilation and a floor that tolerates drips. A printmaker needs a big, sturdy surface. Once you know that, pick the spot.
Take over a corner
The simplest option. A corner gives you two walls for shelves and pinboards, and it stays out of the traffic path. A small desk, a wall-mounted shelf and a task lamp are enough. A cork board above the desk handles references and works in progress without using floor space.
Divide a room into a studio zone
In a larger living room or bedroom, use a low bookshelf, a curtain or a rug to mark the studio area. A rug under the work zone also gives you a visual boundary and something easy to replace if it gets paint on it. Keep the divider low if you want light to travel through the room.
Convert a closet
A shallow closet with the doors removed or folded back makes a good studio for small-scale work. Fit a shelf at desk height, add lighting inside, and close the doors when you're done. It works well for sewing, drawing, jewelry and illustration.
Turn a spare bedroom into a studio
This gives you the most freedom: you can leave a project out for days. Put the table near the window, the storage along the longest wall, and keep a clear path between them. If you work at a desk, the same logic applies as in a home office.
Use a sunroom, shed or garage
Outbuildings are good for messy or smelly media, but temperature swings are hard on paints, paper and canvases. Watch out for heat in particular. The Ohio State University Extension advises against storing canned goods above 95 degrees F, such as in a storage shed or garage. That advice is about food, but it's a useful reminder that these spaces get hot. For art materials, check each product's label for storage limits. A bright small sunroom is lovely for daylight, though direct sun can fade pigments and paper.
Home art studio ideas for small spaces
Small studios depend on going vertical and making things fold away.
- Mount a fold-down table on the wall. It takes about a foot of depth when closed.
- Use a pegboard or rail system for tools, brushes and scissors.
- Choose a tabletop easel that stores flat behind a door or under a bed.
- Put supplies on a rolling cart so you can park it in a closet.
- Keep walls and large surfaces light so the corner doesn't feel heavy.
As an architect, I'd spend money on the cart and the lighting before anything else in a tiny studio. They do the most work per square foot.
Art studio design layout
Think in three zones: a work zone, a supply zone and a drying or display zone. Put the work zone by the best light. Keep the supply zone within one step of it. Put the drying zone where pets and elbows won't brush it.
- Leave about 30-36 inches of clear floor around the table or easel so you can step back and move.
- Place the easel or table so daylight comes from the side, not from behind you, which casts your shadow on the work.
- If you're right-handed, light from the left reduces hand shadows. Reverse it if you're left-handed.
- Put the sink or water source, if there is one, close to the messy zone.
If you share the room with a dog or cat, keep wet work and open solvents out of reach, store pigments and cleaners in closed cabinets, and ask your vet about any material your pet might chew or lick.
Lighting an art studio
Light is the biggest upgrade you can make. Daylight is best for judging color, but it changes through the day, so add a lamp you can rely on in the evening.
Look at the color temperature on the bulb. The U.S. Department of Energy notes that correlated color temperature is one of the primary metrics used to characterize the visual appearance of light. In practice, a neutral-to-cool white is easier for detailed work, and a warmer one suits relaxing in the same room. Pick one type of bulb for the work area so colors don't shift from lamp to lamp.
LEDs are a sensible choice. The Department of Energy says good-quality white LED lighting products are expected to have a useful life of 30,000 to 50,000 hours or even longer, which also helps on a budget.
Light also affects your body clock. The DOE puts it this way in its guide to color-tunable LED products: "Light plays a key role in setting and regulating the body's biological clock." If you paint late at night, use a warmer, dimmer lamp toward bedtime.
Home art studio furniture
Choose furniture that can take a beating and move easily.
- A sturdy table with a surface you can scratch, such as a hollow-core door on trestles or a laminate top.
- An adjustable stool or chair. Standing and sitting positions both matter over a long session.
- Flat files, drawer units or a rolling cart for paper and tools.
- Open shelves for things you reach for daily, and boxes or cabinets for the rest.
- A washable or disposable floor cover under the work zone.
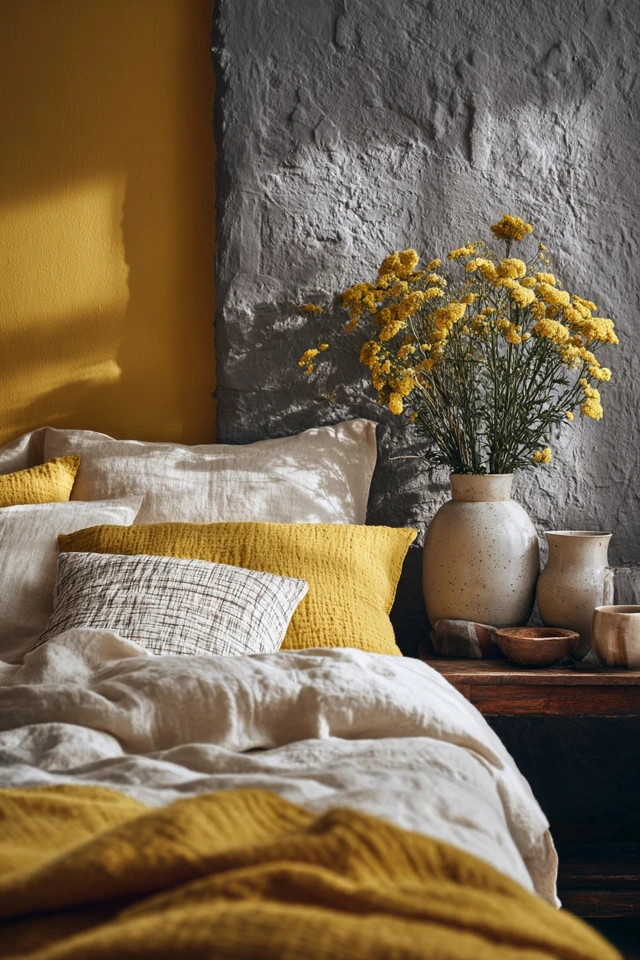
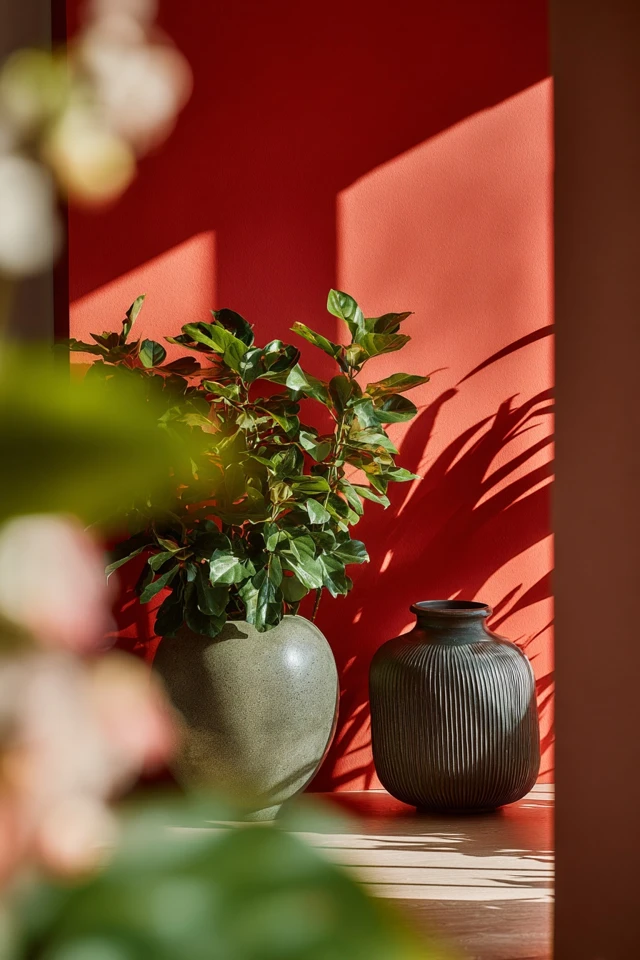
If the studio shares a room with your living space, pick finishes that match the rest of the room so it doesn't look like a workshop dropped into a lounge. Wood, cork and matte surfaces cut glare and look calm. A color you like helps too; the yellow palette guide is a good place to start if you want a warm backdrop.
Home art studio ideas on a budget
- Use what you have: a dining table, a kitchen cart or a desk you already own.
- Buy secondhand shelves and drawer units, then paint them.
- Cover the wall behind the table with washable paint or a panel of cork or pegboard.
- Spend on a good lamp and a comfortable chair. Everything else can be modest.
- Reuse jars, tins and trays as holders.
If wall paint is part of the plan, wallpaper can wait. Keep the wall behind your work surface plain and neutral so it doesn't compete with what you're making.
How to organize an art studio at home
Sort supplies by how often you use them. Daily items go within arm's reach. Weekly items go on shelves. Seasonal or rarely used items go in labeled boxes elsewhere.
- Group by medium (paints, pencils, papers, tools) and keep each group in one container.
- Use clear containers or labels so you don't have to open five boxes to find one tube.
- Store liquids, solvents and anything toxic in closed cabinets, away from heat and from pets and children.
- Review the stock regularly. Judy Harrison, Ph.D., an Extension Food Safety Specialist, advises in her guidance on short-term food storage: "Keep the supply fresh by rotating non-perishable staple items in general storage once or twice a year." The same habit works for paints, glues and mediums that dry out or go off.
At the end of each session, spend five minutes putting things back. It's the habit that keeps a small studio usable.
Frequently asked questions
How can I create an art studio at home?
Pick the spot based on the medium you use, then add a sturdy work surface, good light and nearby storage. A corner, closet or part of a room is enough to start.
What are some good ideas for a home studio?
Take over a corner, divide a room with a low shelf or rug, convert a closet, or use a spare bedroom. In tight spaces, a fold-down table and a rolling cart save the most room.
What should be included in an art studio?
A work surface, controllable light, accessible storage, a floor that tolerates mess, a place to dry work, and seating that suits your medium. Add ventilation if you use solvents.
How much space do I need around an easel?
Leave about 30-36 inches of clear floor so you can step back and move around. A bit more helps when you work on large canvases.
Filed under
ArticlesMeet the author
Written by an architect.
Julio Arco is a passionate architect with years of experience in architecture, interior design, urban design, and housing. He studied at prestigious universities across North America and Europe.

- Name
- Julio Arco
- Job
- Architect and online interior designer
- Studied
- Architecture, ITESM · Urban Design and Housing, McGill
- Partner
- Thor, Australian Shepherd
- Thor’s title
- Head of quality control