DIY Label Ideas for a Cute Stationery Pantry
Simple DIY label ideas for a stationery pantry: pick materials, sizes and placement, plus budget tiers and fixes for common labeling mistakes.

By Julio Arco
Architect and online interior designer
In this post
- What makes a label system look good?
- Which label material suits which container?
- How big should labels be, and where do they go?
- How to label a stationery pantry step by step
- Small pantry ideas on a budget
- How to maximize a tiny pantry with labels
- Adapting labels to other spaces
- A quick checklist before you call it done
- Frequently asked questions
The labels that work best on a stationery pantry share one font, one color palette and one placement rule. Pick a material that suits each container, make the text big enough to read from a few feet away, and put every label in the same spot.
If your washi tape, cardstock and envelopes currently live in one tangled heap, this is an easy fix. You don't need a label printer or a big budget, just a plan.
What makes a label system look good?
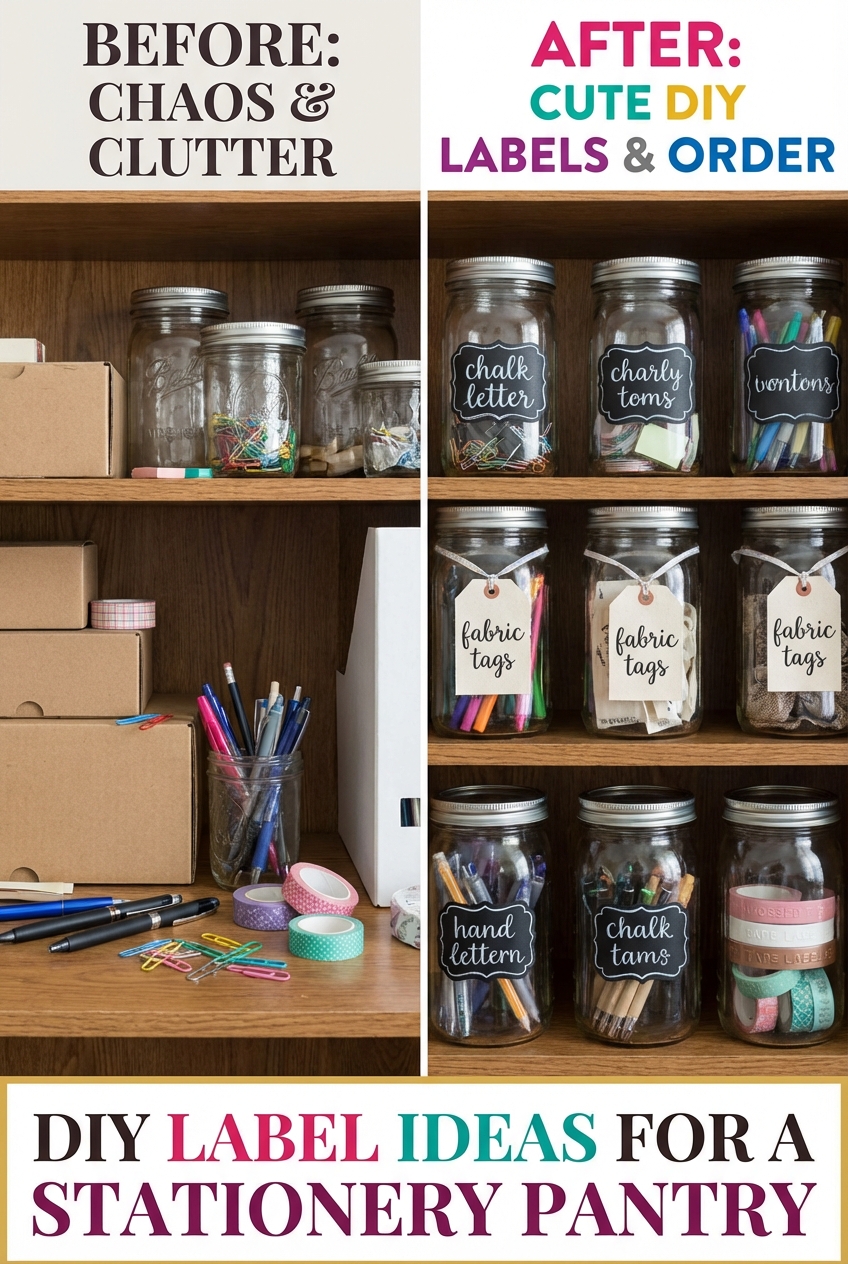
Consistency does most of the work. When bins come in different shapes, a matching label style ties them into one set. Keep to a small palette, such as sage, dusty rose and cream, or black labels with white ink for a classic look.
Contrast matters as much as color. Dark text on a light label (or the reverse) reads from across the room, while pale ink on a pale label looks lovely and says nothing. Decorative scripts are fine if you make them large. A plain sans-serif can be smaller and still be easy to read.
Avoid very distressed or gimmicky fonts. They're harder to read at a distance and tend to feel dated quickly.
Which label material suits which container?
Match the label to the surface it has to live on:
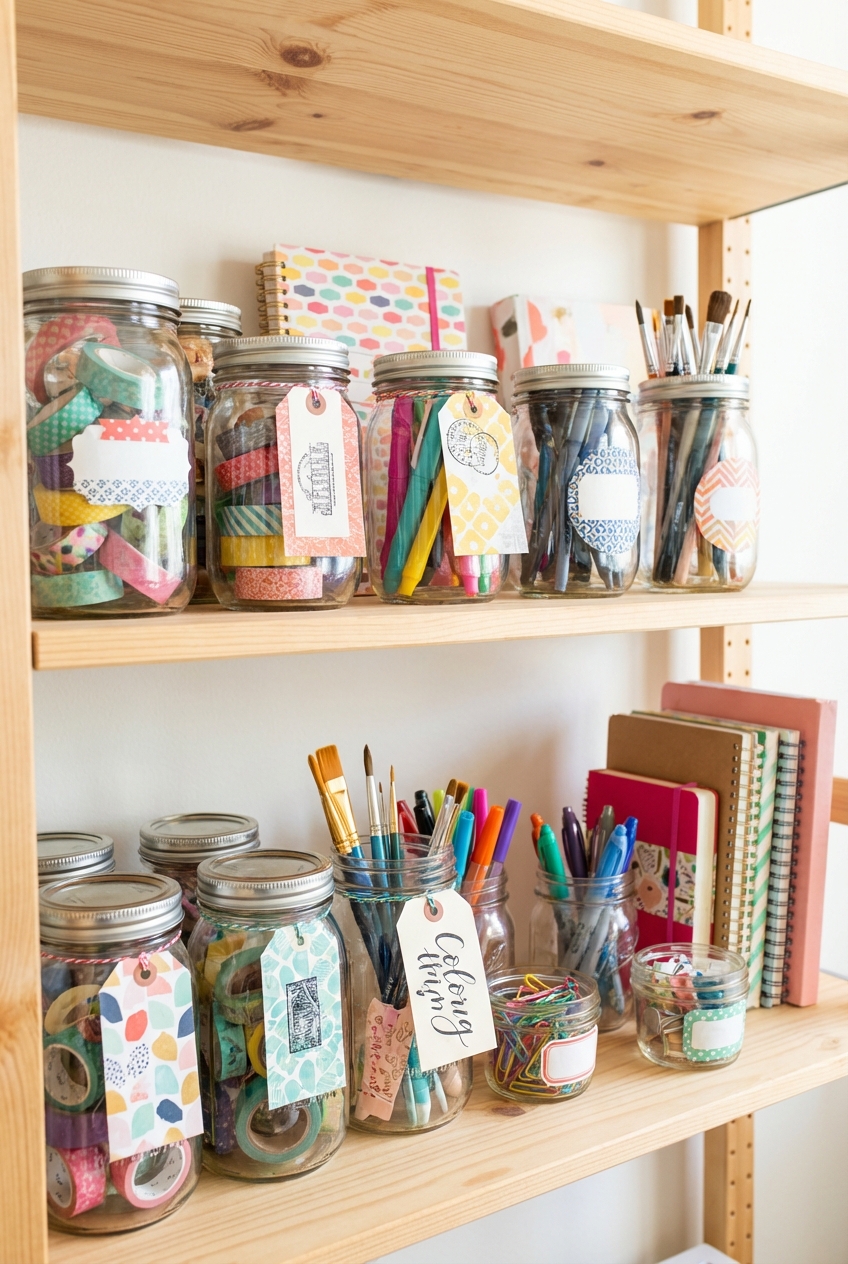
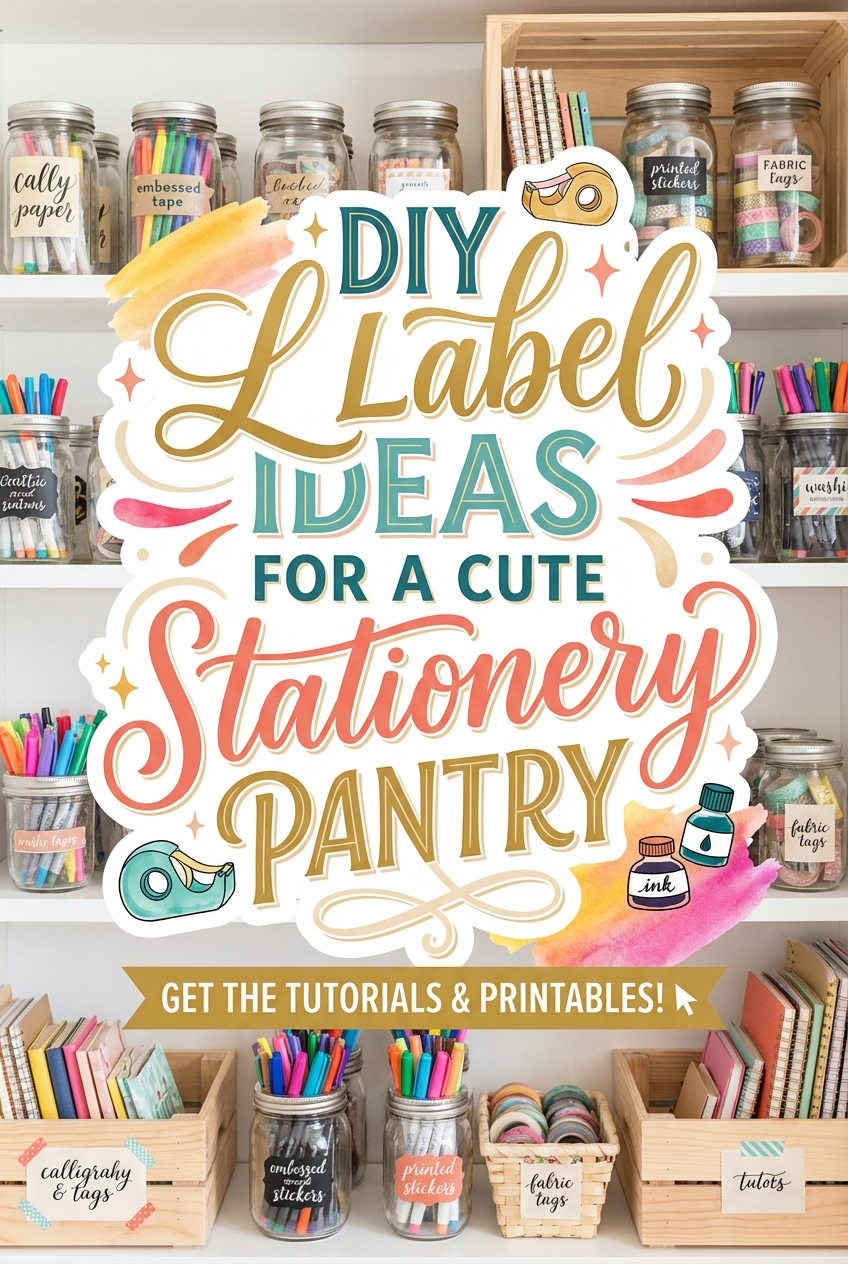
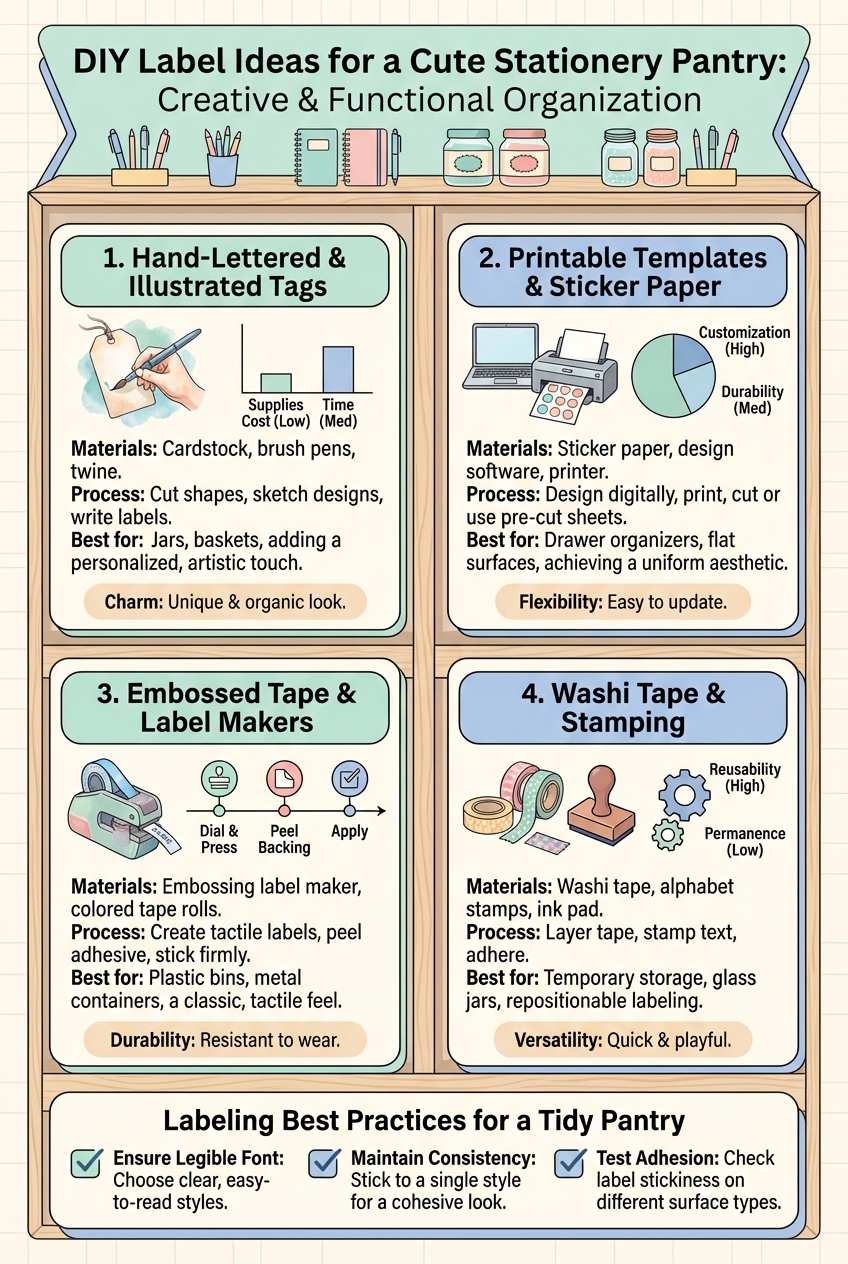
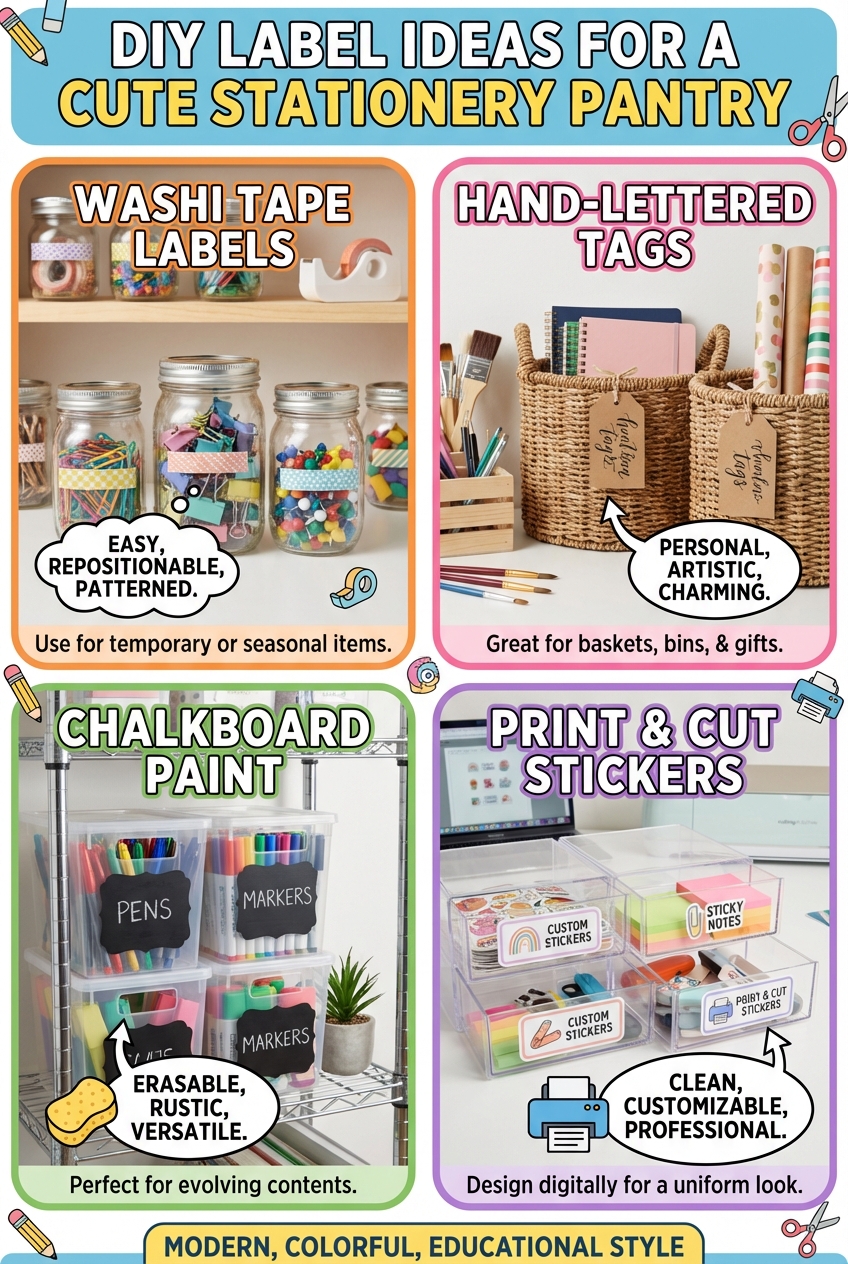
- Wicker baskets: adhesive won't grip, so use hang tags tied to the handle or a clip that slides over the rim.
- Clear acrylic or glass: vinyl lettering gives a printed-on look.
- Wooden bins and drawers: small brass label holders or bookplates add a library feel.
- Plastic bins: cardstock slotted into a holder, or adhesive vinyl.
- Small drawer dividers: embossed tape gives a retro, tactile finish.
For anything that changes often, such as a bin that might hold gift wrap this month and cards the next, choose a slide-in holder, chalkboard label or dry-erase vinyl so you can rewrite it without peeling anything.
How big should labels be, and where do they go?
On a standard 12-inch-wide bin, a label about 3 to 4 inches wide looks balanced. Smaller ones look lost and larger ones crowd the front. Leave about an inch of margin between the label and the edge of the bin.
Placement should follow how you reach into the pantry. This is a small pantry design layout question as much as a styling one:
- Eye level, roughly 36 to 60 inches: daily items like pens and planners. Put labels front and center on each bin.
- Below 36 inches: heavy paper reams and shipping supplies. Make these labels a bit larger, since you read them looking down.
- Above 60 inches: backstock and seasonal items. Use bold, high-contrast labels, and consider putting the label low on the bin so it's visible from below.
Choose one position and use it on every container. Labels scattered at the center, the corner and the lid read as clutter even when the contents are tidy.
How to label a stationery pantry step by step
- Empty the shelves and toss dried-out markers and scrap paper. You can't size labels for an inventory you haven't counted.
- Group by how you use things. Ribbon, tags and tape can share a "gift wrapping" bin instead of each living in its own category.
- Measure the flat face of each container so labels fit.
- Choose the label method from the list above.
- Tape a paper mockup to a bin and step back about 5 feet. If you can't read it, enlarge it.
- Apply labels with a ruler or level so they sit at the same height along each shelf.
One practical tip: wipe plastic or glass with rubbing alcohol before applying adhesive labels. It removes skin oils and helps the label stay stuck through heat and humidity.
Small pantry ideas on a budget: three price tiers
Pick one element to spend on, usually the labels, and keep the rest simple.
On a low budget, buy plain bins and make labels from uniform cardstock and a good marker, attached with double-sided mounting tape. It's a small pantry ideas diy project that looks intentional when the lettering is neat and consistent.
In the middle, a handheld label maker with clear tape, or metal bin clips that hold printed cardstock, makes updates easy. At the high end, custom vinyl lettering, glass canisters and permanently mounted brass holders give a built-in look. Battery or motion-activated strip lighting under the shelf above helps labels stay readable.
How to maximize a tiny pantry with labels
Labels help a small space work harder because they let you commit to a system. Start with broad categories like fasteners, envelopes or tape. Only split a category once you have enough to fill its own bin. A bin for each paper clip color is just more bins.
Leave some room to grow in every container. If a bin is full the day you label it, the next purchase causes overflow and the mess returns. When a category outgrows its bin, move it to a larger one and make the new label right away.
Keep walking space between bins, too. Packing them tightly hides the labels and makes the shelf look cramped. If your stationery has to share a kitchen pantry with food, see how to organize a deep pantry, and for homes with no pantry at all, these small kitchen storage tips help.
Adapting labels to other spaces
A stationery pantry doesn't have to be a pantry. In a living room sideboard, put labels on the inside lip of drawers or on top of bins so the room still looks like a living room. On a pegboard in a small apartment, painted outlines or small hanging tags replace labels entirely.
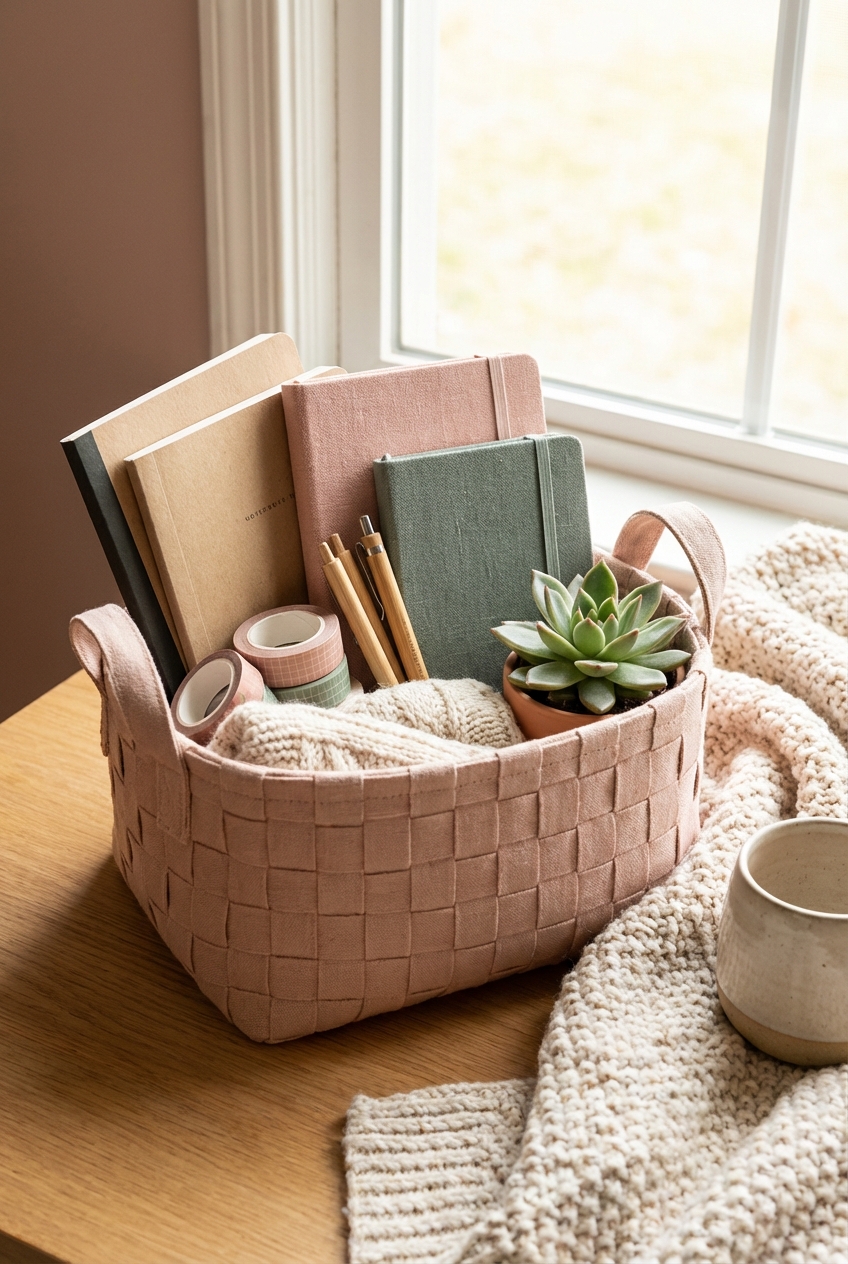
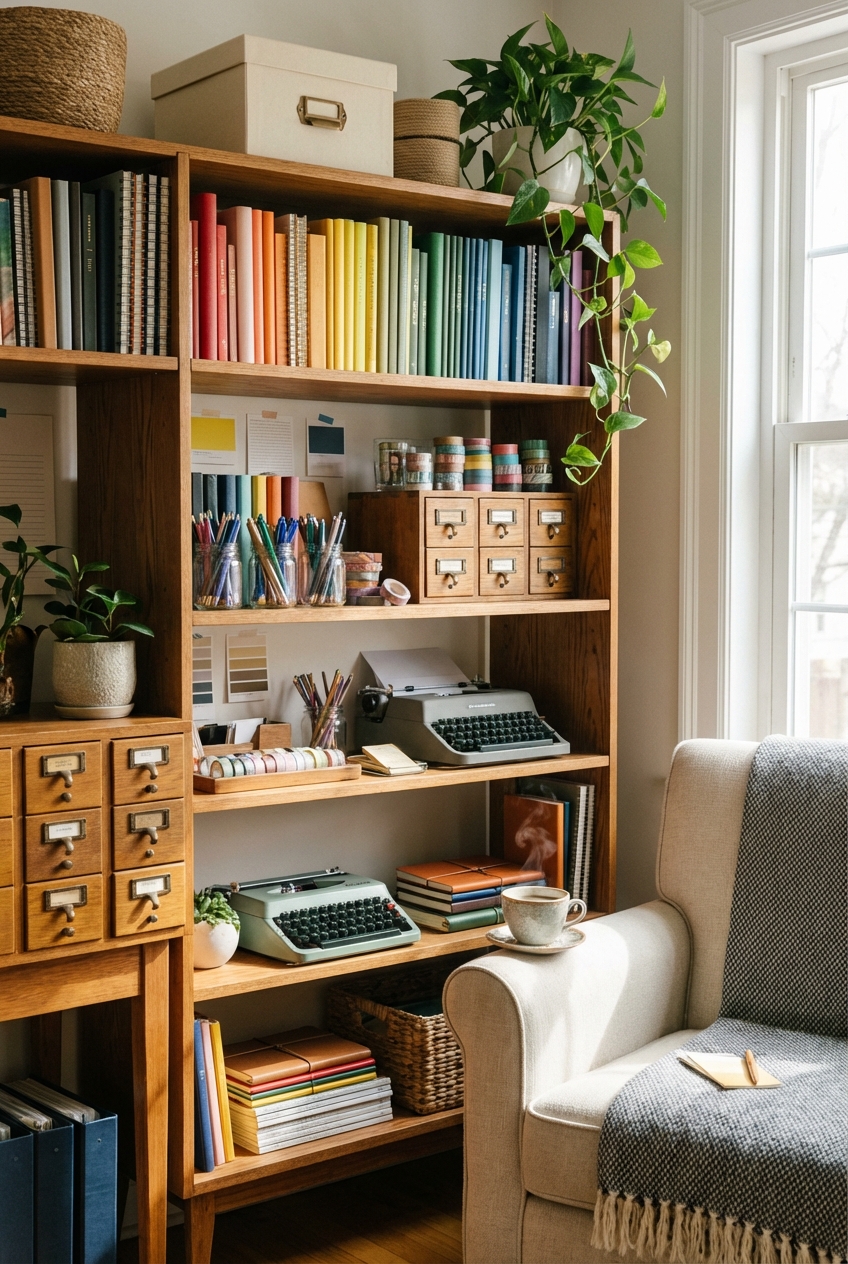
In a craft room, use laminated or plastic-coated labels that survive glue and glitter, and consider a color for each craft. For more ways to store paper goods attractively, try soft stationery baskets or a stationery library on open shelves.
A quick checklist before you call it done
- Are the labels in shadow? Add a battery puck light under the shelf above.
- Do all labels on a shelf sit on the same line? A piece of string or a level will tell you.
- Are any corners peeling? Press them down with a dab of glue or replace the label.
- Can a friend find gold washi tape in about 10 seconds? If so, the system works.
- Do the label holders match your hardware? Brass holders suit brass hinges and knobs.
As an architect, I'd treat the pantry like a small elevation drawing: heavy things low, daily things at hand height, and one consistent rule for everything you see.
Frequently asked questions
What is the best way to label wicker baskets?
Adhesive labels rarely stay on wicker. Tie a cardstock tag to the handle with ribbon, or use a metal clip that slides over the rim.
How do I label categories that change often?
Use chalkboard labels, dry-erase vinyl or slide-in holders. You can swap the text without peeling off anything.
What size should label text be?
Make it large enough to read from a standing position without leaning in. Print a mockup, tape it on, and check it from about 5 feet away.
Should I label the back of the bins?
Usually not. Only do it if you can turn bins around on deep shelves. Put your effort into the visible front.
Filed under
ArticlesMeet the author
Written by an architect.
Julio Arco is a passionate architect with years of experience in architecture, interior design, urban design, and housing. He studied at prestigious universities across North America and Europe.

- Name
- Julio Arco
- Job
- Architect and online interior designer
- Studied
- Architecture, ITESM · Urban Design and Housing, McGill
- Partner
- Thor, Australian Shepherd
- Thor’s title
- Head of quality control